Setup
Board
We use an ESP8266-based board, in particular a NodeMCU development kit [3].
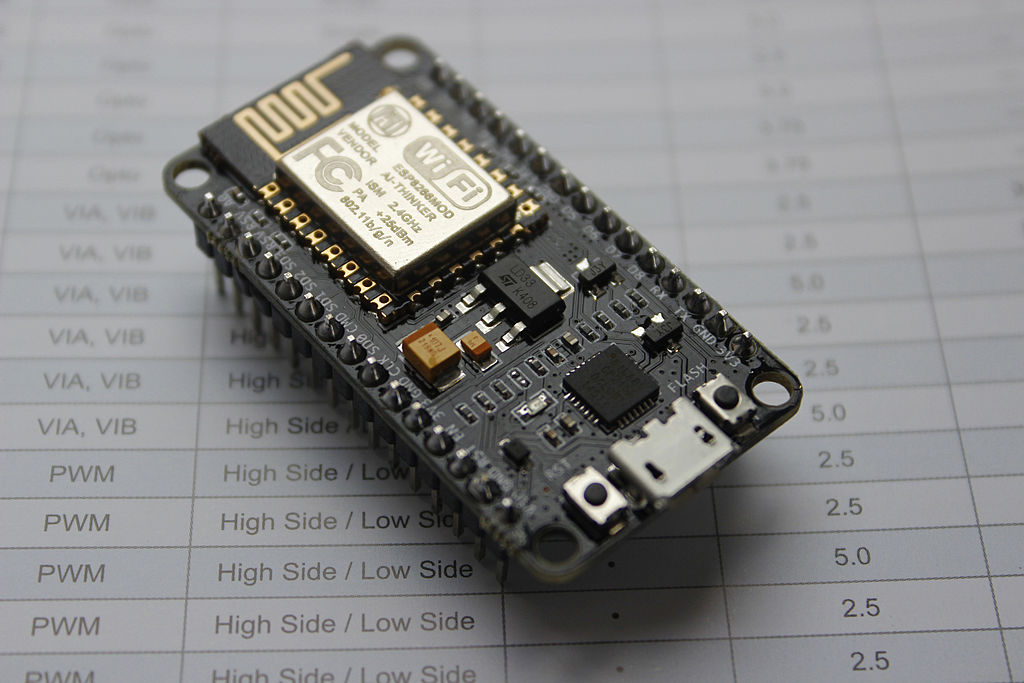
NodeMCU development kit.
It is a very cheap, but powerful board.
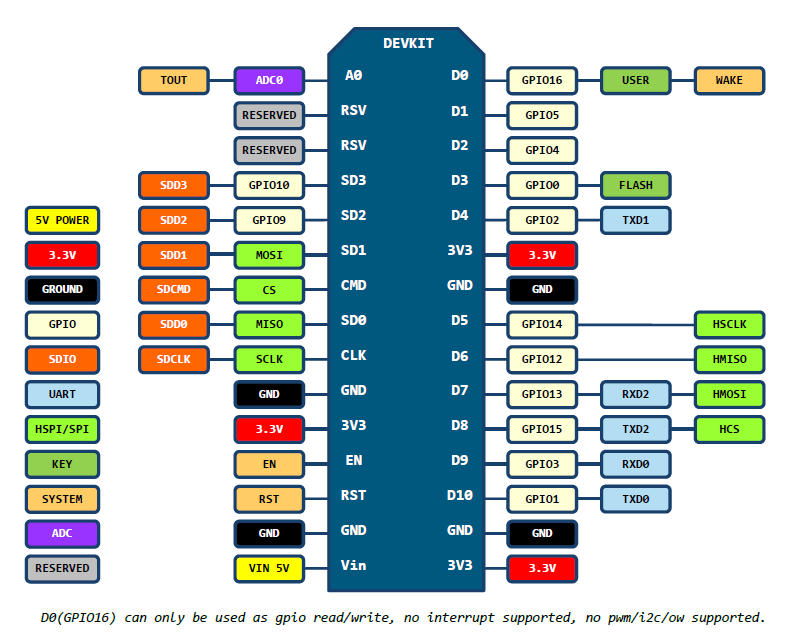
NodeMCU development kit pinout.
MicroPython
We use the Python programming language or, more accurately, the MicroPython [2] programming language. Not only it is a beautiful language, but also implements an HTTP stack that will ease the process of communicating with a remote server in any IoT project.
In order to start using MicroPython, we need to load the MicroPython firmware onto the ESP8266 board first.
Flashing the firmware
We need to make sure we have the required permissions to flash the device. Either:
sudo usermod -a -G dialout $USER
Or, to avoid the need to log out of your session:
sudo echo 'ATTRS{idVendor}=="1a86", ATTRS{idProduct}=="7523", MODE="0666"'> /etc/udev/rules.d/99-nodemcu.rules
sudo udevadm control --reload-rules
Note
You might need to adjust the idVendor and idProduct depending
on what you see with dmesg when connecting the device.
We use esptool [1] to reflash the device, which is very easy to install with:
pip install --user esptool
Then, reconnect the device and erase its flash memory with:
esptool.py --port /dev/ttyUSB0 erase_flash
Download the latest MicroPython firmware for ESP8266 boards and flash it with:
esptool.py --port /dev/ttyUSB0 --baud 460800 write_flash --flash_size=detect 0 esp8266-20180511-v1.9.4.bin
Testing the REPL
Once the MicroPython firmware is on the device we can access the REPL (Python prompt) over serial with a 115000 baudrate:
screen /dev/ttyUSB0 115200
If everything went well we should see a >>> (if not, try to press “enter”).
You may now try to execute a simple print() call, which will be executed in
the board itself:

MicroPython REPL.
Sensor
The ESP8266 board is connected to the sensor through an I2C bus, in particular, using D1 (GPIO5) for the clock and D2 (GPIO4) for the data transmission. The sensor is powered with the ESP8266 board directly, using its 3V3 and GND pins.
Once the sensor is connected to the board we can check the I2C connection by simply:
from machine import I2C
from machine import Pin


i2c = I2C(scl=Pin(5), sda=Pin(4), freq=400000)
devices = i2c.scan()
print(devices)
Which should print a non-empty list.